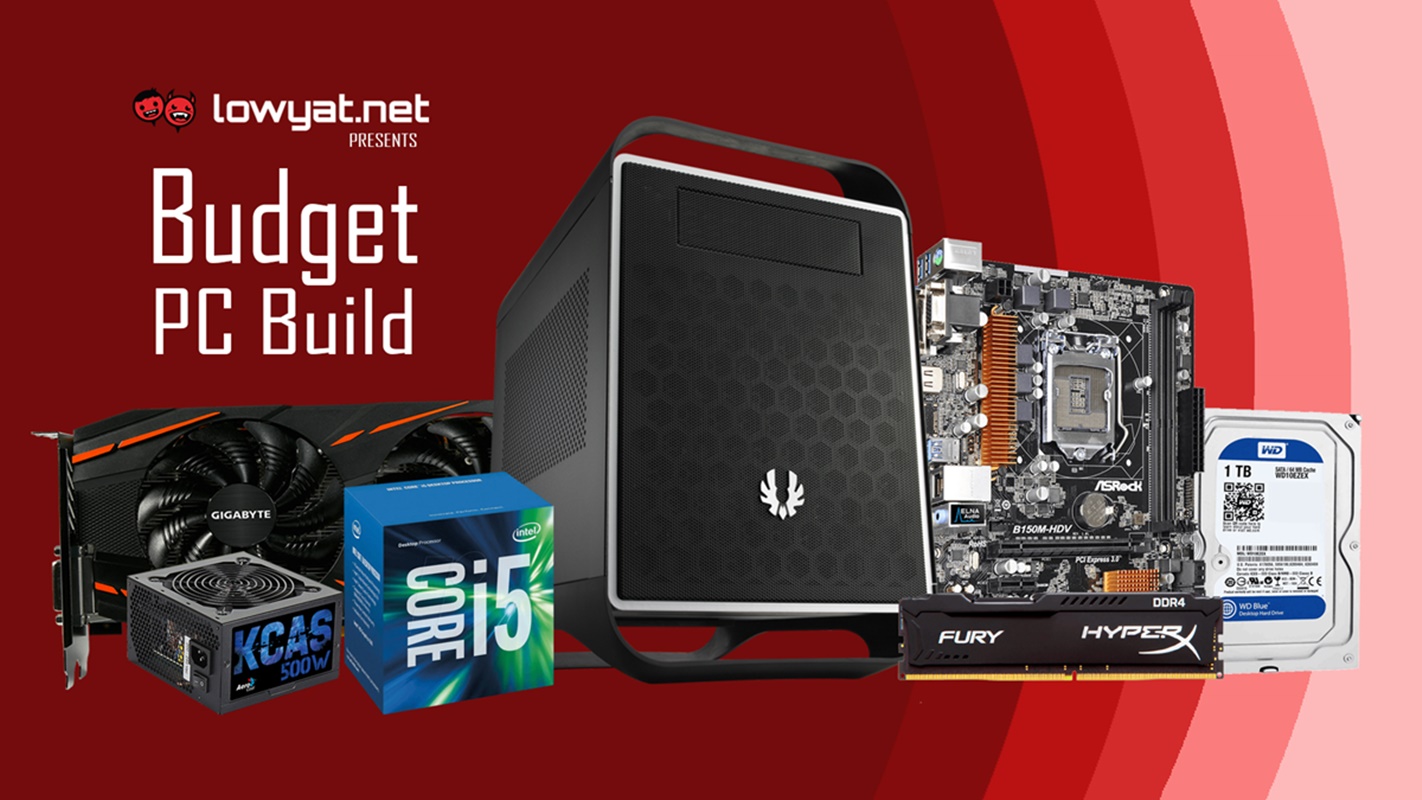
PC gaming: two beautiful words that represent freedom in framerates and quality. Unfortunately, as time passes by, more and more gamers are stereotyping PCs as a waste of money as it requires a relatively high cost of entry and look to more affordable options in the form of consoles instead. While this may be true initially PC gaming is actually cheaper than consoles in the long run…but that’s an argument for another day.
But how exactly can you begin your accession to the glorious world of PC gaming – without making their wallets and bank accounts cry collectively? After some discussions with the team, we found that while the word “budget gaming PC” is very subjective in terms of what value denotes “budget”, we agreed to work on a decent budget of around RM3,500 for the core hardware to get you going.
When we searched for the components for this PC build, we had two main factors in mind: initial cost and upgradeability. So, here are the PC components that we recommend for our readers who are looking into building their first gaming PC or are simply looking for hardware recommendations to upgrade their existing ones:
Processor / CPU (Central Processing Unit): Intel Core i5-6500
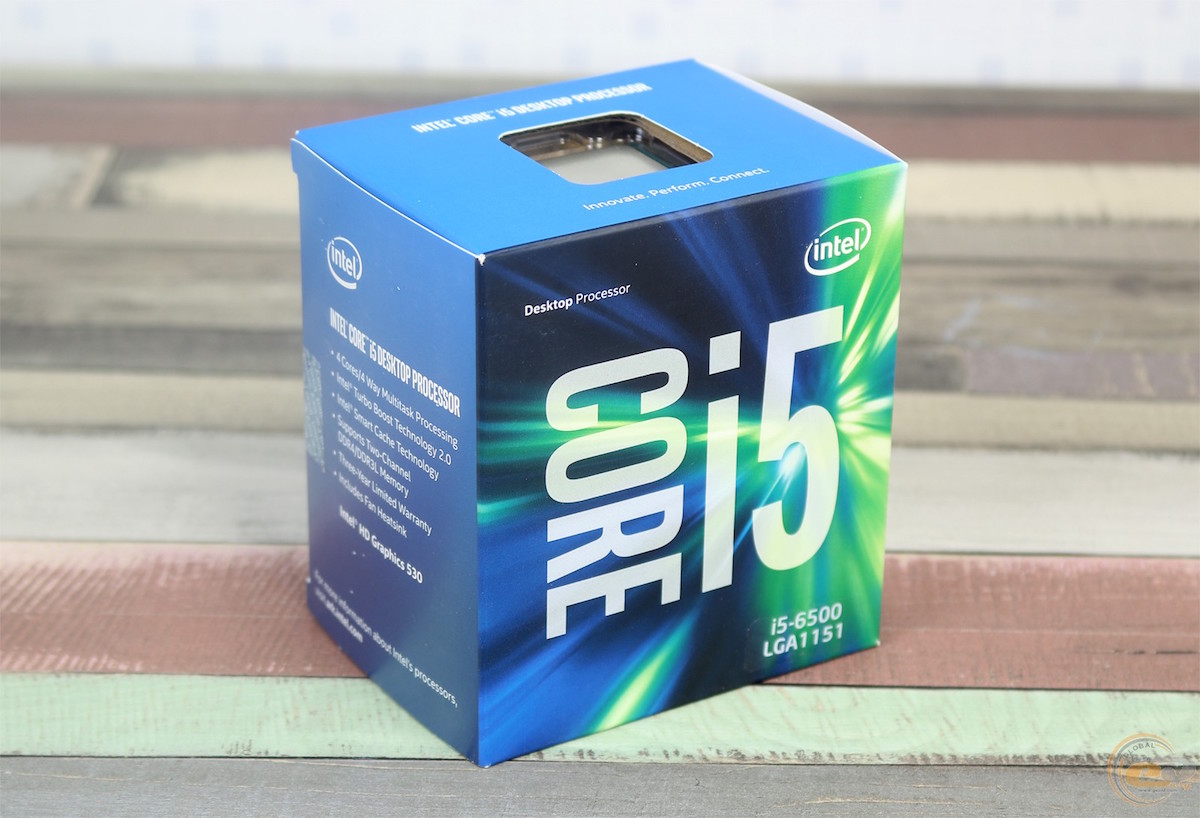
Choosing a processor that is capable of annexing those used in ‘current-gen’ consoles wasn’t that hard actually. Come to think of it, the choices are almost endless. Of course, we had to settle for one processor which we thought would not only be significantly more powerful than console CPUs, but also affordable at the same time.
Behold, the Intel Core i5-6500 quad-core CPU, which comes with a base frequency of 3.2GHz and a ‘Turbo’ frequency speed of 3.6GHz. In contrast, the recently released PlayStation 4 Pro uses an AMD Jaguar-based CPU that clocks in at 2.1GHz. Don’t even get us started on that 1.7GHz CPU on the Xbox One S.
More importantly, it balances price and performance really well, making it a fantastic choice for those looking for more than decent everyday performance when not gaming.
Motherboard: ASRock B150M-ITX
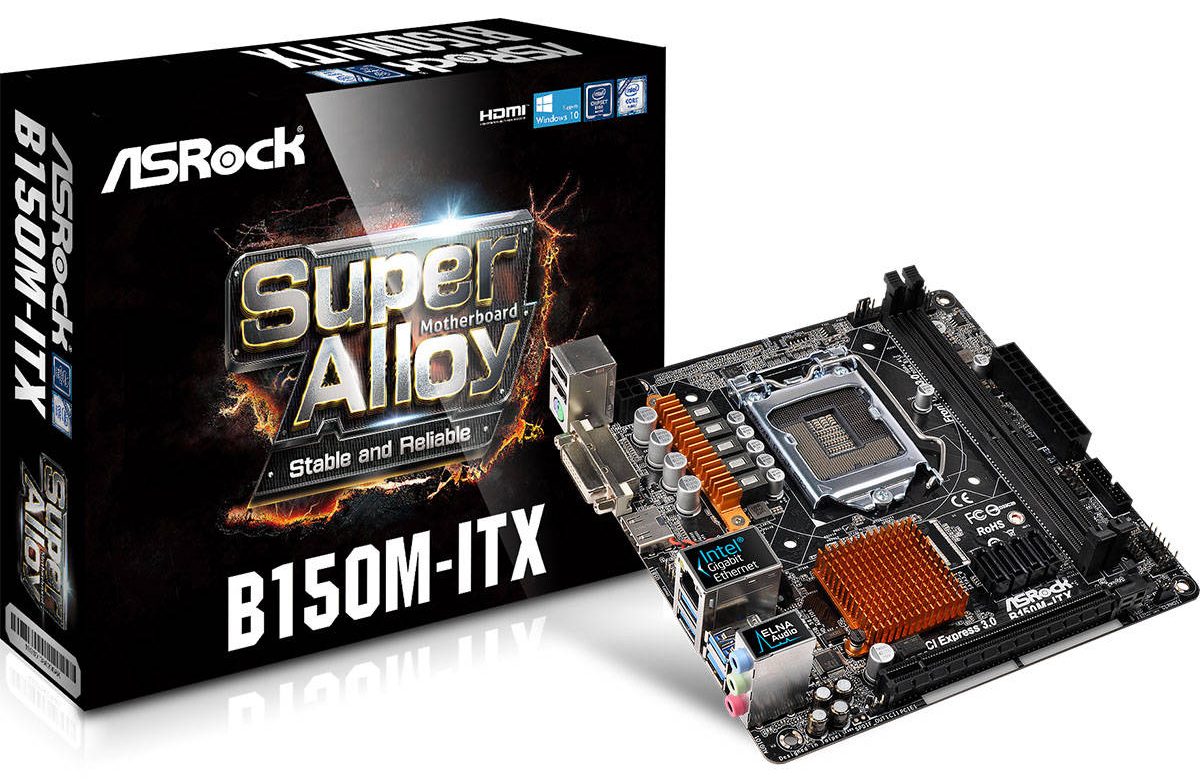 The motherboard of choice for this build would be the ASRock B150M-ITX. Now, some might wonder, why have we suggested a B150 motherboard instead of a H170 or Z170? Again, our two core factors come into play: B150-class motherboards are not only very affordable, they are also more than capable of housing more-than-decent PC components.
There are, however, downsides to B150 motherboards. These include no overclocking, RAID, and PCIe storage support (fear not, as SSDs are supported). But if you’re not planning use any of those, then the ASRock B150M-ITX would be more than enough. That said, if you do plan to, say, one day upgrade to a PCIe-based storage device (M.2, U.2), then it’s best to consider getting a H170 motherboard instead.
For the purposes of our build (it being a budget proposition, after all), this is a great option.
RAM (Random Access Memory): HyperX Fury 8GB DDR4 2133MHz
 Kingston’s HyperX Fury lineup of RAMs may be popular with folks who have high-end X99-based systems, but they’re also suitable for B150 motherboards as well; just make sure you have a CPU that supports them. For this PC build, we went with the Kingston HyperX Fury 8GB DDR4 RAM, which has a frequency speed of 2,400MHz. That said, one can also opt for other brands as well, because most RAMs nowadays have very little to separate them from one another.
Side note: we strongly recommend readers to purchase RAMs last, because unlike other components listed in this build, RAM prices tend to fluctuate a lot. In addition, it would be best for one to check the compatibility of their motherboard of choice before purchasing RAMs as well (some may support 2,133MHz only instead of 2,400MHz).
Update: Most readers seem to dislike the idea of us recommending an ‘overpriced gaming’ RAM for our budget build. Because of this, allow me to explain why we opted for the HyperX Fury 8GB DDR4 RAM instead of, say, a value RAM.
Dear beloved readers: currently, the price for this particular RAM module is at RM259. Now, let’s take a look at ‘value’ RAMs; if one were to browse sites such as Lelong.my, GemFive, and Lazada, it can clearly be seen that 8GB 2,133MHz value RAMs come at an average price of around RM220.
Of course, value RAMs are slightly more affordable, but when it comes to their looks, they aren’t very inspiring. The way we see it, one should definitely consider spending around RM40 more for a better RAM module, because not only will you be getting a RAM that looks good, it’ll perform better as well. That said, if you do happen to come across an 8GB 2,133MHz value RAM module that is significantly ‘cheaper’ than what we have stated before, please do let us know in the comments below.
Graphics Card: Gigabyte RX 480 G1 Gaming 8GB
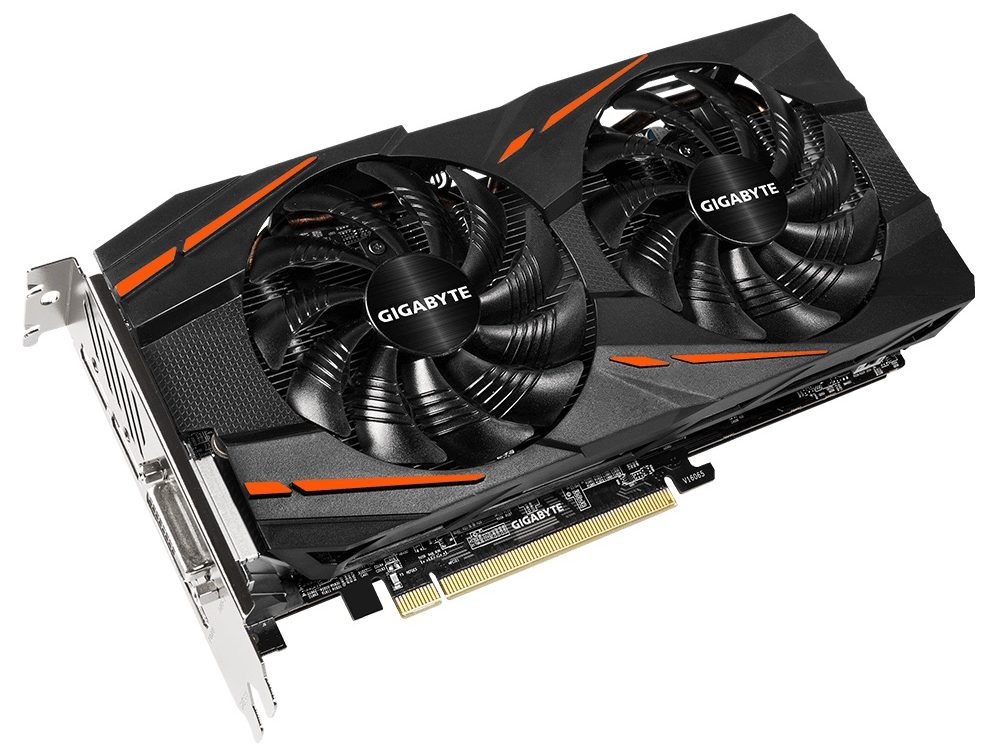 Most (especially my colleagues) would probably wonder I went for an AMD graphics card instead of an Nvidia graphics card. Personal preferences aside, it all comes down to the benefits that the RX 480 has to offer over the GTX 1060, which can be seen as a like-for-like competitor to the Radeon card.
Performance-wise, the Nvidia GTX 1060 may be a few percent faster when it comes to playing older DirectX 11 games, but most games that run on DirectX 12 and Vulkan play better on the Radeon RX 480. Obviously, DirectX 12 and Vulkan will be the go-to API in the near future, so the Radeon card has the advantage of being more future-proof. Moreover, the GTX 1060 only comes with a maximum VRAM capacity of 6GB, while the RX 480 has 8GB. Though it may not seem important now, PC games will soon be utilising more and more GPU memory, so it’ll be wise to pick the card with higher VRAM.
So, if you’re keen on getting a Radeon RX 480, I’d recommend the Gigabyte RX 480 G1 Gaming 8GB graphics card. It comes with a core clock speed of 1,290MHz and a memory clock speed of 8,000MHz. In addition, the graphics card is also rather small in size (40mm x 232mm x 116mm), which means that it can easily be placed in either an ATX or ITX case.
Update: It seems that most of our readers in the comments aren’t too pleased with our choice of graphics card for this build. The main issue was raised seems to be that the Gigabyte RX 480 G1 Gaming is “the worst RX 480 that money can buy.”
Folks, the Gigabyte RX 480 G1 Gaming graphics card is not as bad as you think, really. Sure, the card does run slightly hotter compared to other RX 480s in the market (not all), but it isn’t something that one should worry about if they aren’t planning to push the graphics card to its limit (aggressive overclocking).
Reviews from Guru3D, HardwareBBQ, ThinkComputers, ProClockers, and many others seem to share one common opinion: the Gigabyte RX 480 G1 isn’t bad at all (but it isn’t the best either). Dear readers, this is a custom Radeon RX 480 after all, so no matter how ‘bad’ it is, it should still ‘cool’ and perform better compared to the reference RX 480.
However, if one still has doubts over this graphics card, then by all means, opt for a more decent one, there are plenty RX 480s to choose from in the market (recommend your favourite in the comments section below for others to see too).
PC Case: Bitfenix Prodigy Mini-ITX
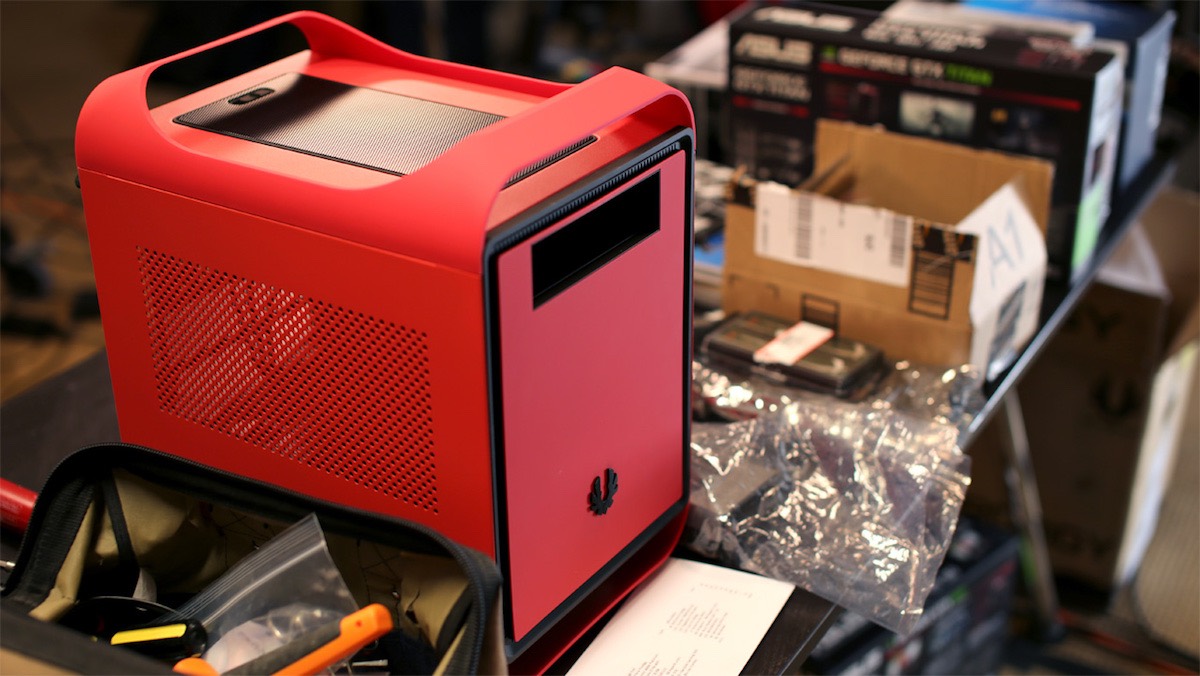
A neat-looking PC is one that is compact and easy to carry around – like a console, if you will. We think that the perfect PC case that fits all two aforementioned requirements would be the Bitfenix Prodigy Mini-ITX PC case. It comes with an internal dimension of 250mm x 310mm x 340mm, which, of course, is sufficient to fit all components listed in this article.
Not only is the Bitfenix Prodigy Mini-ITX pretty to look at, it can also be easily carried around thanks to four ‘FyberFlex Composite’ handles found on the top and bottom of the PC case. This PC case also comes in six colour options, but we recommend you to get the ‘Fire Red’ colour scheme because Lowyat.NET = red.
PSU (Power Supply Unit): EVGA 500B Bronze 500W
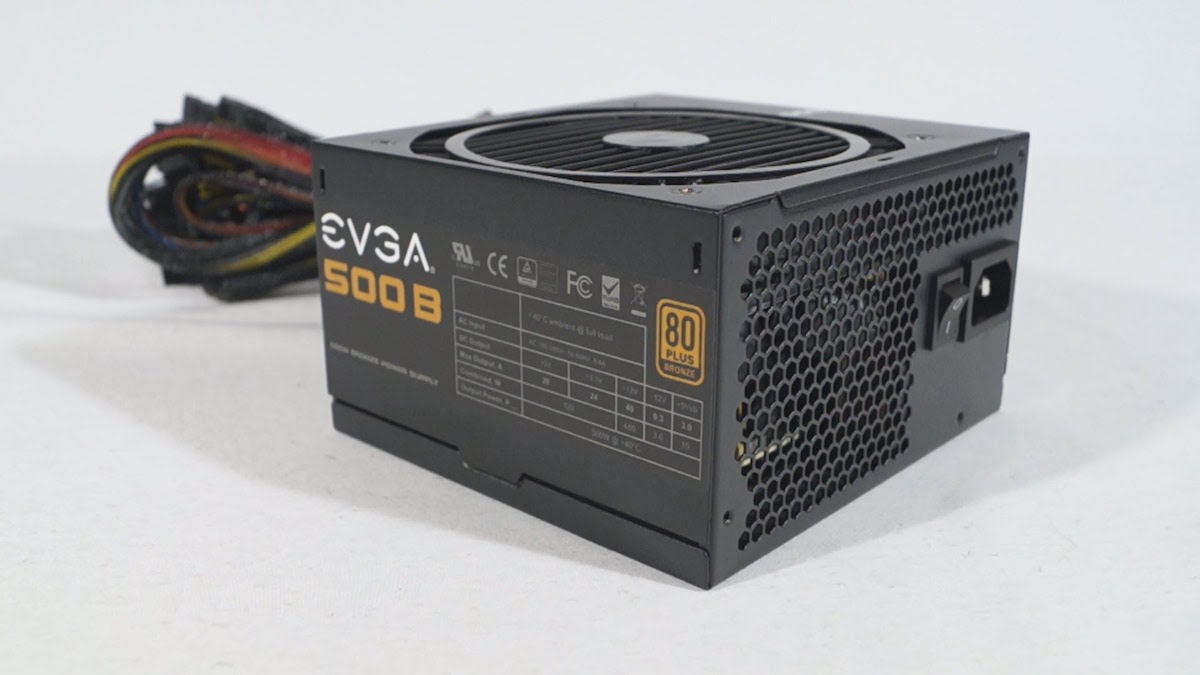
Update: We heard your concerns regarding our PSU choice for this PC build and wanted recommendations for a better PSU. Because our budget could accommodate a better psu, we’ve decided to amend this section with a better model. So, this time round, we went for the much more reliable EVGA 500B.
The EVGA 500B PSU comes with two 6+2-pin power connectors along with support for up to six SATA connectors (for multiple storage devices). In addition, this PSU measures in at 85mm x 150mm x 140mm, which is perfectly capable of fitting inside our PC case of choice in this build recommendation.
Hard Disk Drive (HDD): Western Digital 1TB Caviar Blue
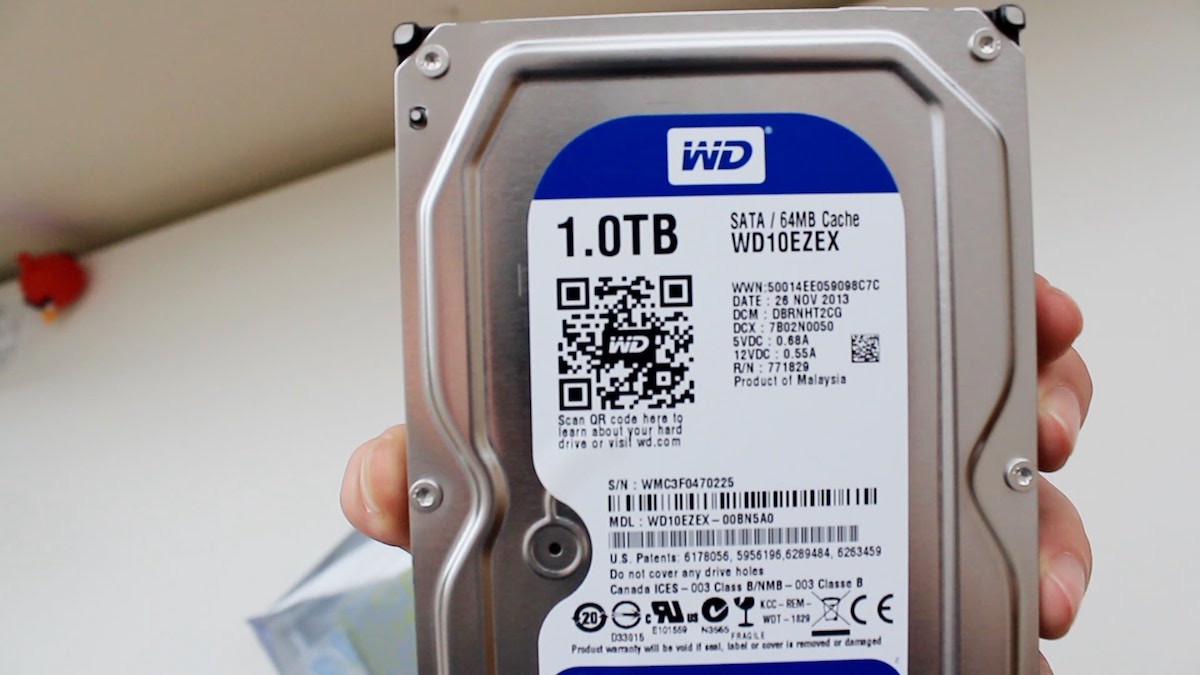
The final piece of for this PC build would be the hard drive, and we’ve decided to opt for the reliable Western Digital 1TB Caviar Blue HDD. Tthis HDD is equipped with a physical disc that spins at a standard 7,200rpm (5,400rpm is so 2010, am I right?). In addition, the Western Digital 1TB Caviar Blue HDD is also capable of a modest sequential read and write speeds of about 159MBps and 155MBps respectively.
Gaming performance shouldn’t be affected too much regardless of the speed (7,200rpm is the current standard after all) and capacity of a HDD. The only probable issue that one may face when using a standard 3.5-inch 7200rpm hard disk is slightly longer loading times in games that require a PC to read tons of data in a short amount of time.
On a separate note, you can always drop a few hundred Ringgit for an additional SSD to install Windows and your games on, while using the WD hard drive for storage. It instantaneously improves load times, so for those who are “allergic” to long load times, by all means, get an SSD with the HDD.
Total Cost
 Photo for illustration purposes only.
Now that we’ve wrapped up everything one needs to build a decent low-cost budget PC that is flexible enough for future upgrades, let’s take a look at one last important detail: cost. Below is the list of PC components used in this build along with their “best” prices (as of November 2016):
– Intel Core i5-6500 = RM850 @ Ideal Tech
– ASRock B150M-ITX = RM364 @ DotaTech IT
– HyperX Fury 8GB DDR4 2133MHz = RM256 @ E Tech PC
– EVGA 500B Bronze = RM259 @ Kool PC
– Bitfenix Prodigy Mini-ITX = RM299 @ Tech View IT
– Gigabyte RX 480 G1 Gaming 8GB = RM1,239 @ Kool PC
– Western Digital 1TB Caviar Blue = RM196 @ ITCOM
Total cost = RM3,463 (excluding shipping charges and other miscellaneous fees)
As you can see, we’ve left out the other external hardware in this build and focused only on the core hardware. The monitor, keyboard, mouse, and speakers are a lot more subjective which makes it harder to recommend “the best” option – so we’ll leave that to you to decide when you build your PC.
Final Words
It is important to note that this is a PC build recommendation, and we know it’ll likely stir some debate on our choice of “Hardware A” versus “Hardware B”. But the way we see it, that’s the beauty of PC building. There are just so many possible combinations, alterations and upgrades that can be done to a particular build, making it almost impossible to pinpoint a perfect one.
Also, you may have noticed that we did not actually build this PC. We actually had built one recently, but we needed one that’s more capable for photo and video editing (alongside some decent gaming). Our allocated budget was therefore a little higher, which we’ll also attempt to include the accessories we got with them. We’ll be publishing our final build in the coming weeks, so keep a look out!
We only have but one thing left to say in this build recommendation: may your framerates be high, and your temperatures low!
Follow us on Instagram, Facebook, Twitter or Telegram for more updates and breaking news.


