It’s no secret that smartphones have quickly become the de facto image capture device, greatly reducing the convenience of a traditional point and shoot camera. Phones these days come with exceptional cameras in terms of the sensor, software or even the value added features like the flash; The unfortunate part however is that most of the time, the camera is left on Auto and is not brought to full potential.
Whether it be taking better selfies or shooting that breathtaking panorama short of a sunset, here are some tips to take better pictures with your Smartphone camera!
Article continues after the jump!
1) Check your lens is not smudged before you shoot!
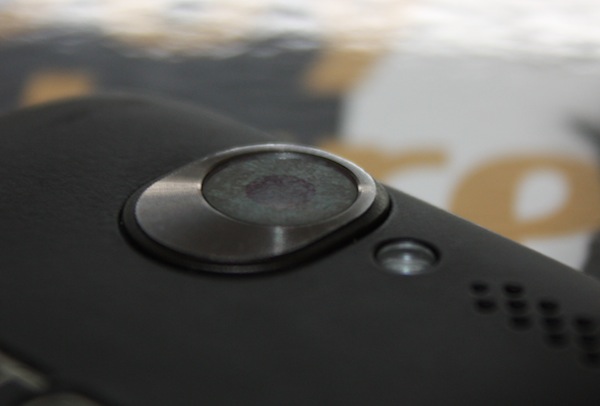
This may sound like an incredibly silly suggestion and a bit of common sense but in all honesty, this is not the first thing we think about (or even think about at all) when taking a photo with our smartphones! A smudged lens will lead to hazy shots, losing the incredible detail that can potentially come from your camera. Phones these days are quite susceptible to this with devices like the One Max, Z1 and even the iPhone 5S having an exposed lens. Take the time to wipe fingerprint smudges away with a glasses cloth, chamois or even very gently with tissue or your T-Shirt, just be careful not to scratch it! This is definitely the easiest way to get sharper pictures!
2) Turn Off 16:9 Ratio
This point is a contentious one and is more of my eye as a photographer. I know for a landscape photo a 16:9 looks good, but if you want to upload to facebook, print or just compose, a more traditional 4:3 or 3:2 would be the best. If you still are insistent on a widescreen format for your picture, why don’t you take a picture in 4:3 and crop it later?
3) Be conscious of your lighting
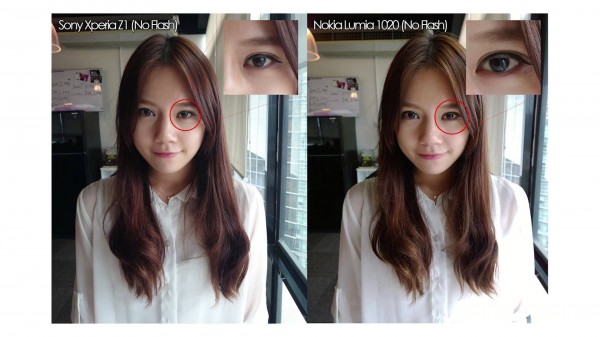
This is a tip that can even transcend to all types of photography. Learning how to harness natural light is one of the must useful skills to have in photography. For a selfie, there is no better light than a slightly diffused natural light as it lights your face evenly and not too harshly. A very good example is the light that filters through sheer curtains. When you are looking to take a portrait, or even a selfie, make sure your source of light is NOT behind the subject. Backlighting will definitely trick your camera to underexposing the subject and make it look dark. This can be combatted by using flash properly, but thats another story for another time.
4) Bad Light? Convert To Black & White!
This is one of the bread and butter tricks from my music photography background. The times where you get an amazing shot, but the light isn’t ideal or if there is a bad colour wash, just convert it to black and white! Black and white photos are not just for the hipsters and the faux artistic, if used correctly with the right amount of tweaks to contrast and filter selection, the results will be better than any washed out, underexposed photo.
5) Use Exposure Compensation And Manual Mode
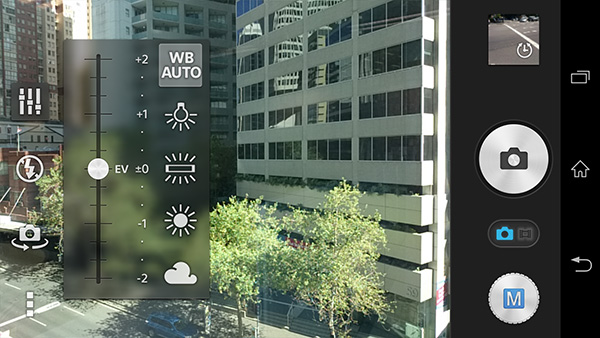
A lot of under or overexposure happens when you tap to focus the wrong parts of the photo and the camera automatically meters according to the area. The best way to combat this while keeping the subject focused properly is to put your phone camera onto a Manual mode of sorts and manually adjust the exposure compensation and white balance. For the Xperia Z1, both these controls are in the same dropdown in Manual mode so it’s quite easy to access.
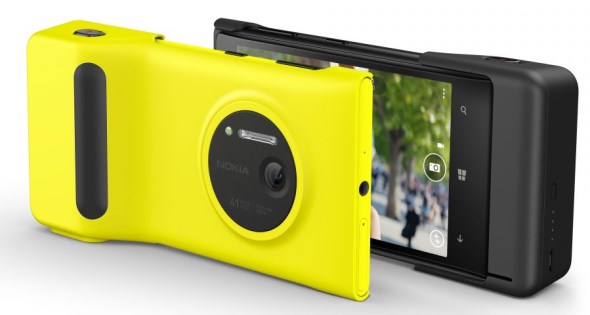
Not everyone has the awesome dual flash of the iPhone 5S, the amazing resolving power of the Lumia 1020 or even the AR mode T-Rex of the Xperia Z1, but with these simple tips, you can improve your photos that little bit more on whatever smartphone you have on you. Stay tuned for a list of my favourite apps I use for my photos on my smartphone of choice!
Follow us on Instagram, Facebook, Twitter or Telegram for more updates and breaking news.


