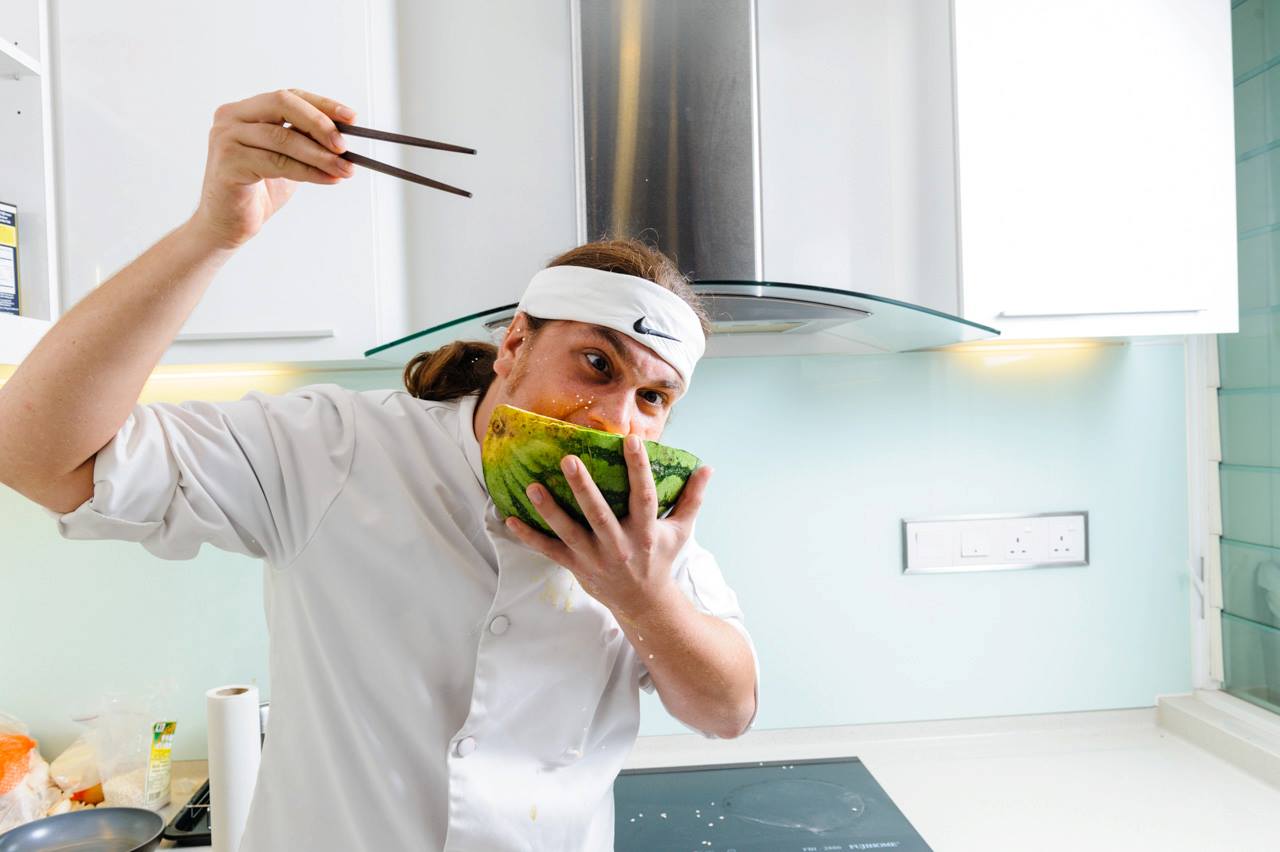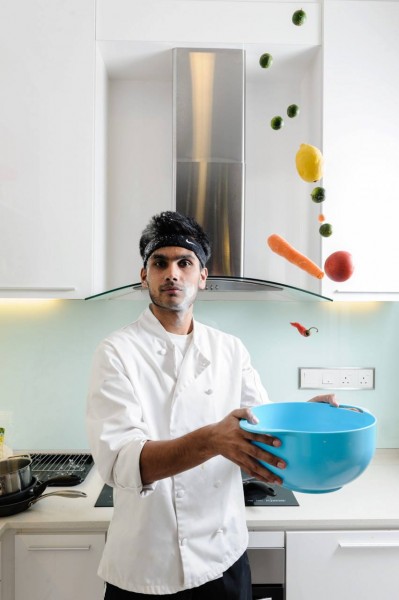
If you’ve ever used a camera, chances are you’ve also taken a portrait shot. Whether it be for someone on a holiday, a total stranger on the streets of your hometown, a sneaky shot of your partner or even a selfie for Instagram, they are all portraits of one form or another. As a working photographer, shooting portraits and headshots are part of my specialisation in the huge world of photographic genres and here are some tips that i’ve learned over the years that will get you shooting better portraits in no time!
First and foremost, the biggest question that everyone is inadvertently going to ask would be : “Which camera/lens/reflector/backdrop/CF Card/Tripod will improve my photos?”. While I don’t deny that things like an 85mm f/1.4, or a nice Elinchrom ring flash would improve your portraits with the proper knowhow, but we will focus on the things that DONT cost too much money and more about things that are not DSLR exclusive.
Article Continues After The Jump
1) Don’t say “Smile”, make your subject smile

If you’re just starting out, this may be one of the biggest hurdles for you but once you get over it, it will be the best tool in your arsenal. I learned this from the amazing headshot photographer Peter Hurley and if you look at his work, you’ll know that there is just a very warming and distinct quality about it. The key takeaway from this point is to build a rapport with your subject, have a conversation and find out what makes them tick and then from there joke about with them!
Each person is very different but as a photographer you will have a set “routine” of sorts to break the ice. The one I’ve been using recently is to ask the subject:
“Do you know which is your good side?”
After they answer, I will say:
“Wrong. Let me teach you, the proper answer is ‘Both sides are good!’ ”

After that I’ll ask them again and it will usually result in a big smile or laugh when they reply. Even if it’s not a useable keeper, you got some awesome BTS shots!
2) Use natural light and use it properly
If you have little control over your settings, like when you are using a smartphone, make sure the light is NEVER coming over the shoulder of your subject. If you’re using natural light, try to let it hit your subject at an angle so you can always get a nice definition with the shadows. When shooting portraits, a great lightsource is the window! If you have sheer curtains, those can be your diffuser. The benefits to natural light (in fact of any constant lightsource) is that WYSIWYG. It’s very easy to envision what your picture will look like without pressing the shutter. The bad bit however is the fleeting nature of sunlight and if its a hot day, your subject may get uncomfortable.
3) Use flash creatively (Rear sync, slow shutter & harsh flash is amazing)

What you learn from most people is that light has to be softened by bouncing or a diffuser to make your pictures look that much better. Flash is a very strange thing in a sense that no matter how you use it, there is a way to make your pictures look amazing. Take for example a great guy and talented nightlife photographer, Paulius aka All Is Amazing. Prior to this I had limited knowledge of using the rear curtain sync function on my camera. With a combination of the first tip and this one, AiA gets some breathtaking photos at the biggest festivals and hottest club nights in KL.

As for direct flash, I’ve been experimenting with this in my portraits, eliminating the white background and just trying to get as harsh a light as possible. The results are dependant on the subject but very rewarding, kind of like Terry Richardson but without the sleaze.
4) Always focus on or between the subjects eyes
This is one of the most important things when taking a portrait, sharpness. Having your focus point in between the subjects eyes, or in the range of the T-Zone will ensure that it looks sharp when zooming in at 100%. Even if you forget to change your Aperture from say f/2.8 (Amir… tsk tsk), you will at least have the important parts of the face in focus and usable.
5) Have the subject look away from the camera

Be it with a turn of the head, or just a flick of the eyes, looking away from the camera may add a depth to the image that previously wasn’t there. What I find works as well is if you get the subject to look somewhere else or even close their eyes and at the count of 3 have them return their gaze to you while you snap a burst of about 3. This relaxes the subject in a way to give a very natural look to the portrait.
6) Learn how to pose people
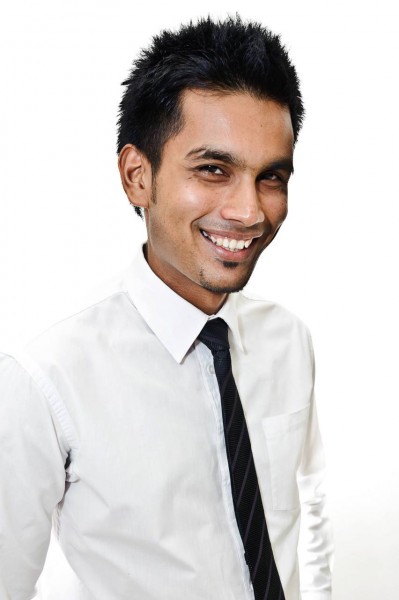
This is very important if you want to do portraits. Regardless if you are using a camera or a phone, a good pose can make or break a picture. That’s not to say that you should direct everyone to look like a Miss Universe contestant or the stereotypical crossed hands guy pose, rather you should know how to make minute adjustments to the positioning of a subjects body or even where their weight is resting to improve a picture.
Some tips are that you should always try to shoot side on, whether it be body facing the side, shoulder and face, facing the camera or even a slightly more subtle head tilt, sideways usually works best. Make sure your subject always has a neck and in the case of a girl, hand on the hips to accentuate the S shape, even if its not visible.
7) Remember the Rule of Thirds composition

As with all photography, composition is very important. We could write an entire article about portrait compositions but in short, just remember to keep your subject in line with the rule of thirds. I am very bad at this, often leaving too much headroom causing the need to crop in tighter than I’d like sometimes. In some instances following the golden ratio also leads to some breathtaking photos.
8) Screw Rule of Thirds composition and compose creatively
Rules are meant to be broken, especially with something so dynamic as photographing people. Crop too tight, let your subject be off the frame, be dead centre, whatever! Sometimes, breaking the mould is what leads to a great photo!
9) Learn a little bit of photoshop or Adobe Camera Raw

I’m not trying to say you need to liquify the fat off everyone’s faces or make skin so smooth you can bowl on it but every photographer should learn very basic retouching. From processing a raw file to simple fixes to common mistakes on your files it has become a must-know thing if you want to do something with portraits. As long as you stay away from the “Glaymer Retash” function you’ll be ok.
These are some of the less equipment dependant ways to improve your portraits! If there is an interest to an article of how to take portraits in a studio setup, or even anything photography related at all, leave a message in the comments and I’ll work on it!
Follow us on Instagram, Facebook, Twitter or Telegram for more updates and breaking news.


